How to Make a Stamped DIY Pendant

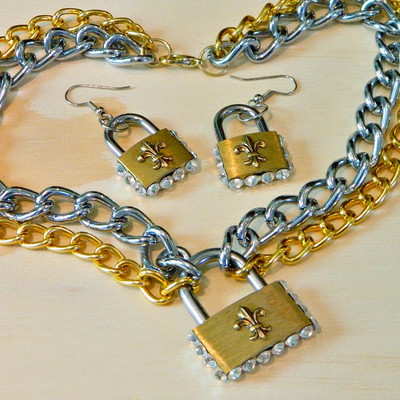
What is cooler than getting to play with fire and make some really gorgeous DIY jewelry in the process? This How to make a Stamped DIY Pendant video tutorial will show you how to bring these two elements together. Not only is this a fantastic jewelry making tutorial to show you how to create personalized jewelry; but also, this is a great way create a unique DIY pendant. This is definitely a technique that proves to be extremely different compared to other handmade jewelry techniques, and you can use it to make all kinds of pendants!
Project TypeMake a Project
Bead TypeMiscellaneous
Time to CompleteIn an evening
Bead Project TypeOther

Materials List
- Handheld Torch
- Saftey gloves and saftey glasses
- Firesafe Tile
- Water
- Puter Pendant
- Rubber stamp
- Craft Paint
- Paint brush or sponge
How to Make a Stamped DIY Pendant
Instructions for Making a Stamped Pendant
-
Put on your saftey gloves and goggles.
-
Place your pewter pendant on your fire safe surface.
-
Put your handheld torch on a medium flame and go over the pendant in even strokes.
TIP: Don't overheat the pendant because it will cause it to lose it's shape. -
Press your stamp into the pendant.
-
Place your pendant in your glass of water.
-
Make sure your pendants are nice and dry before you color them with a craft paint of your choosing. Dab the paint on your stamp wipe away the excess and the left over paint will make your stamp stand out!
Read NextIrish Linen Wrap Bracelet


