Arm Candy Square Knot Beaded Macrame Bracelets
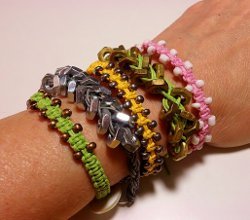
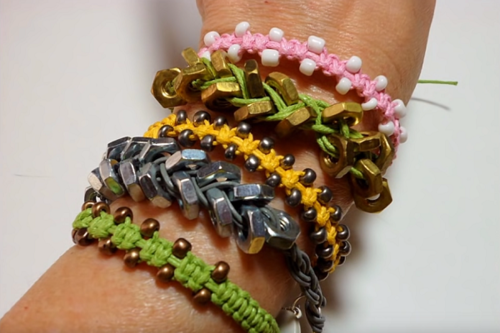
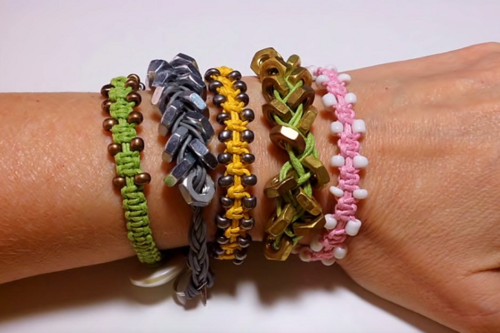
Arm Candy Square Knot Beaded Macrame Bracelets are all the rage lately with celebs and fashionistas. Follow these easy macrame square knot instructions to make your own stackable square knot beaded bracelets. It's a fun and easy project that's perfect for summer accessorizing. Choose your favorite color cord and beads, watch this helpful video tutorial to learn how to macrame these square knot beaded bracelets, and then get started making your own DIY bracelet. This colorful and fun project is sure to become a staple of your summer jewelry collection.
Project TypeMake a Project
Bead TypeMiscellaneous
Time to CompleteUnder an hour
Bead Project TypeBracelet

Materials List
- Your choice of cording (leather, jute, cotton, etc.)
- Your choice of beads (just make sure your bead holes will accommodate the cord size)
- Clipboard
- Small binder clip
- Scissors
- Super glue
- Nail polish
- Decorative shank button
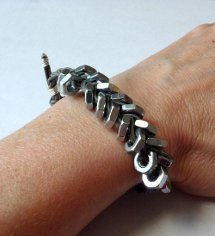
Love the silver bracelet in the picture? Eva's done a tutorial on it, too! DIY Hex Nut Bracelet
Instructions
-
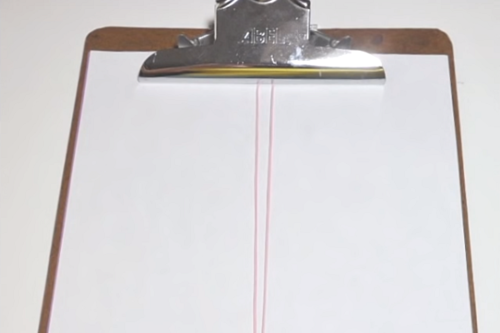
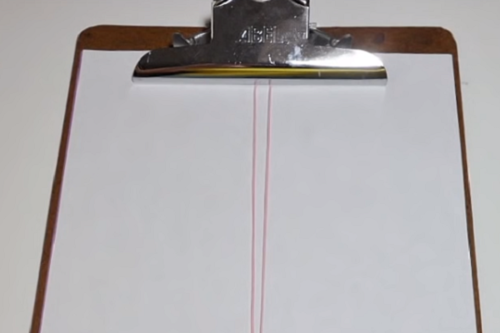
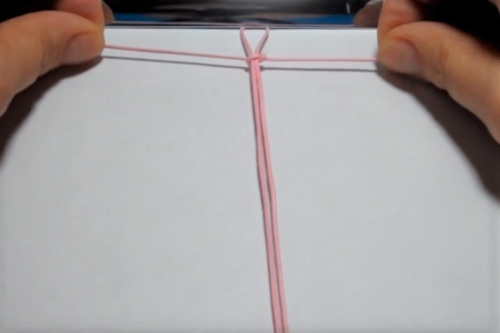
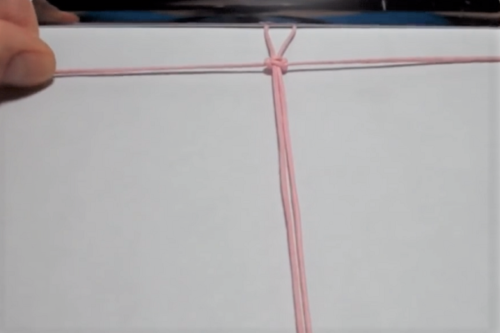
Cut one length of cord approximately 24 inches. Fold in half and secure the looped side under the clip on the clipboard. Secure the two free ends with the binder clip on the lower edge of the clipboard.
-
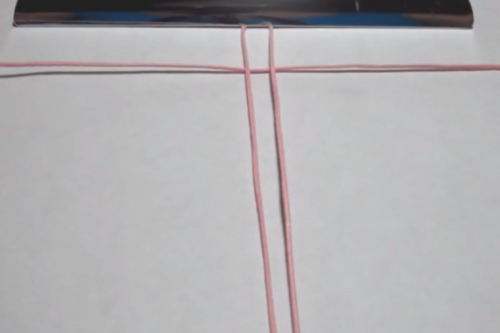
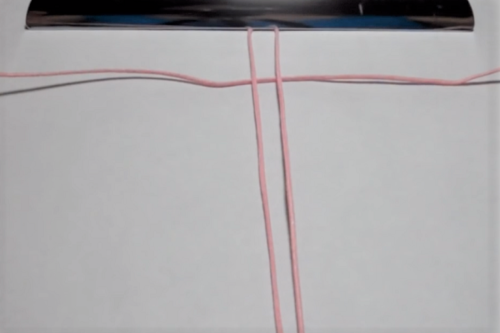
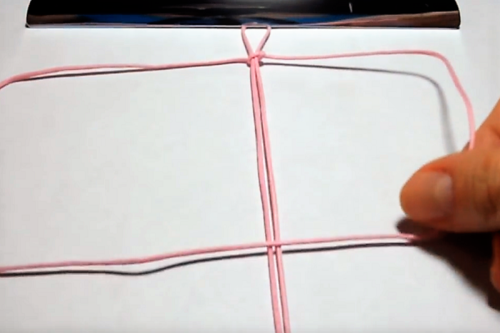
Cut the second length of cord approximately 60 inches long and center under the two cords on your clipboard.
-
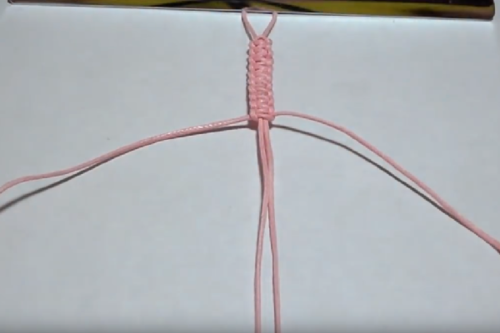
Make square knots for 1¼ to 1½ inches. (See How to Make a Square Knot below.)
Note: Make sure your button can pass through the loop at the top before you continue. -
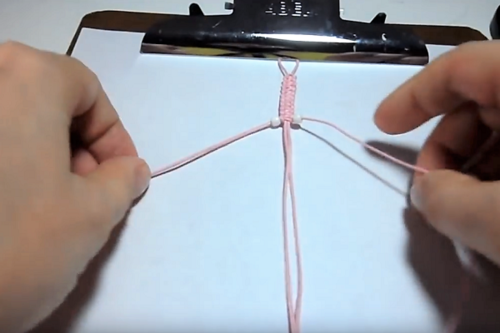
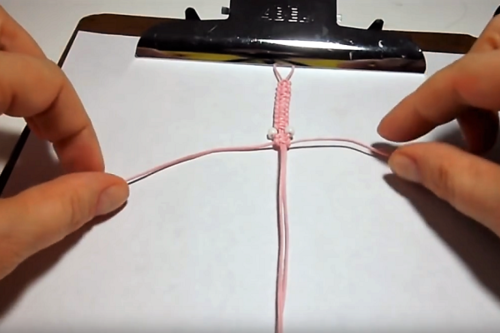
Place one bead on the left side and bring to top. Repeat on the other side.
-
Square knot under the beads either once or twice (depending on the desired look).
-
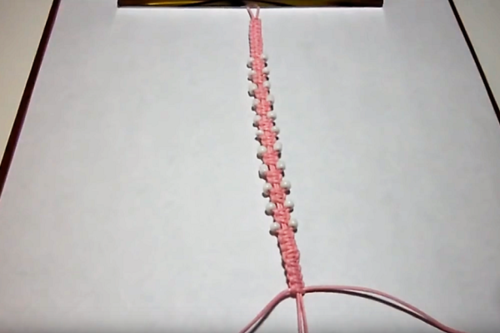
Repeat steps 4 and 5 for desired length (approximately 4 inches for a 7-inch bracelet).
-
Square knot another 1¼ to 1½ inches.
-
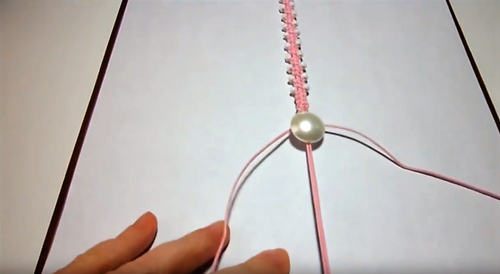
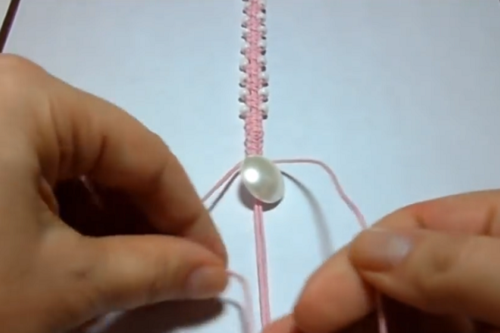
Release the two cords secured with the binder clip and slip both through the shank button. Position button under last square knot.
-
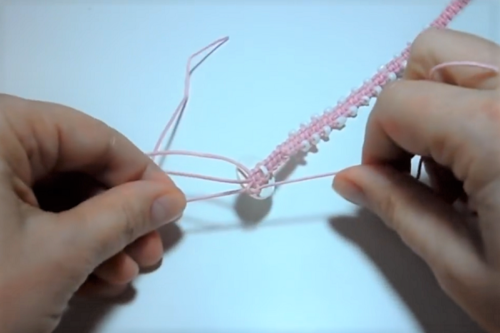
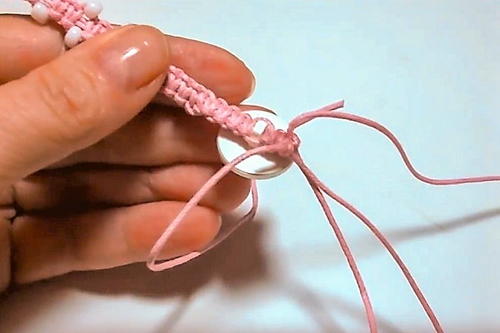
Make two square knots under the button to secure.
-
Take two left cords and tie together tightly. Repeat with two right cords.
-
Put a drop of super glue on ends; let dry.
-
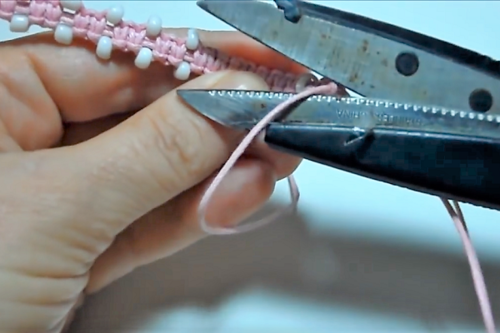
Once the glue is dry, clip the ends close to knots.
-
Fasten and wear your new “Arm Candy” bracelet.
How to Make a Square Knot
-
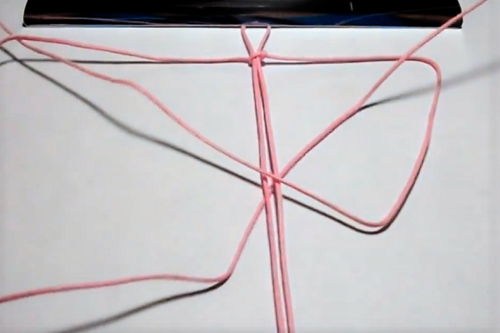
Begin with the center cord(s) straight up and down (fasten to secure).
-
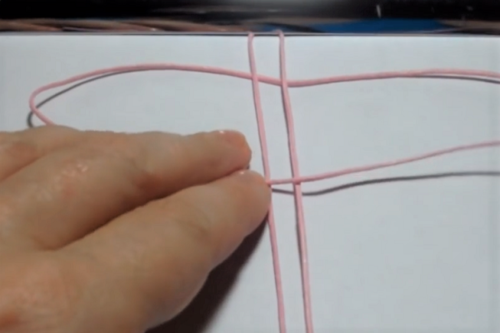
Take the second cord and place it under the center cord, horizontally and centered.
-
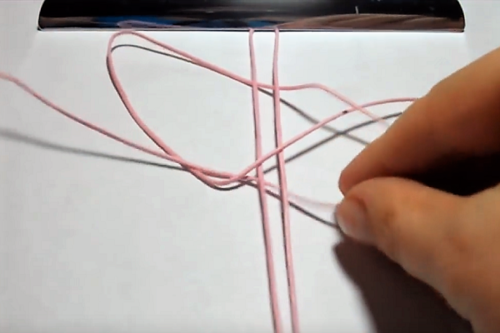
Position the left side over the center cords, leaving an open area.
-
Take the right side and place over the left cord, then under the center cord(s) and up through the loop that was formed in step 3.
-
Pull gently on the two ends and tighten. This forms the first half of the square knot.
-
Position the right side over the center cord(s), leaving an open area.
-
Take the left side and place over the right cord, then under the center cord(s) and up through the loop that was formed in step 6.
-
Pull gently on the two ends and tighten. This forms your completed square knot.
Your Recently Viewed Projects
mulberrygalprinces s
Aug 24, 2017
This is great, I somehow missed this book. so I missed a lot . Now I can catch up on all of those. There are two bracelets that I like like already. They are pretty and very easy so they will be added to my Christmas box in the closet.
sheilahycorp123456 7
Jun 10, 2013
this was such a good way to show us how to make these step by step. Paper instructions are sometimes confusing. This was wonderful!
jessicachesnut 720 4998
Feb 06, 2013
i love these bracelets. but i do the opposite of you i go under first. but it still comes out the same. it seems easier for me.
Piper8
Aug 10, 2012
Normally I would say pottery, but in this case I like the braclets better. So Jewelry in this instance wins over pottery.
love2craftbyChuy
Aug 07, 2012
oh I make these type of bracelets and love how changing the way you use the chords can make the bracelets look different. I have to chose this over pottery
blue6366
Aug 06, 2012
This is such an awesome idea that I'll have to try for gift giving this season.
azpolly
Aug 06, 2012
I like them, they are a great update to what I did with my daughters when they were growing up. Thank you
Member 15424
Aug 05, 2012
Irelly like this project. What a way to use up that beautiful button that don't match anything but you didn't know where elsr to use.
Report Inappropriate Comment
Are you sure you would like to report this comment? It will be flagged for our moderators to take action.
Thank you for taking the time to improve the content on our site.

