DIY Swarovski Cube Earrings
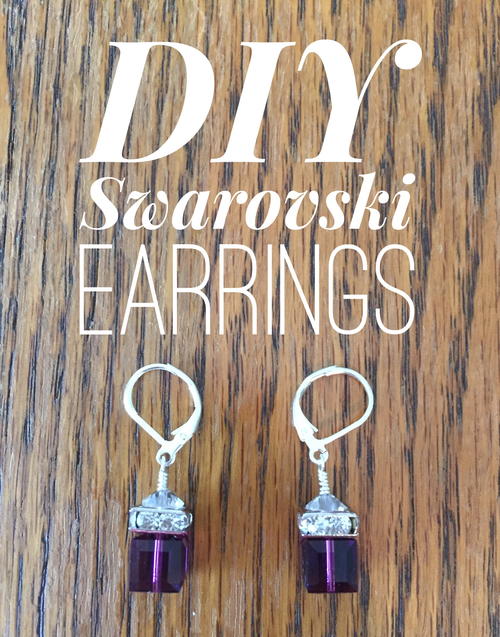
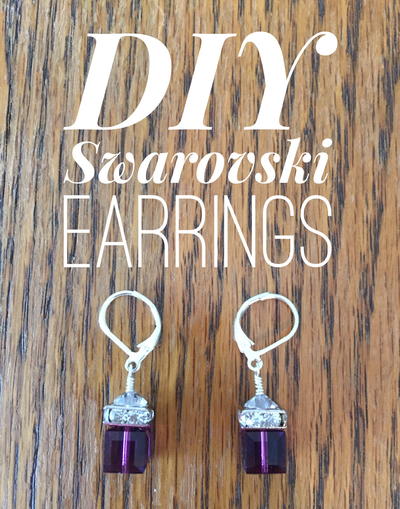
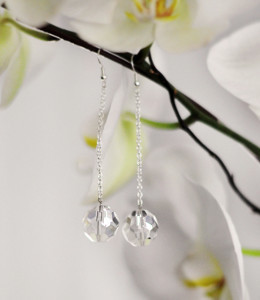
"How to make DIY Swarovski cube earrings at home in a few easy steps. This project takes approximately 10 minutes. Materials needed: round nose pliers, chain nose pliers, bent nose pliers, clippers, 2 headpins, 2 spacers, 2 squaredelles and 2 swarovski cubes. Wire wrapping is an important skill for lots of jewelry, and this tutorial is a good way to practice it, with step by step instructions as you figure it out!"
Project TypeMake a Project
Bead TypeCrystal
Time to CompleteUnder an hour
Bead Technique UsedChainmail/Wirework
Bead Project TypeEarrings

Materials List
- Round Nose Pliers
- Chain Nose Pliers
- Bent Nose Pliers
- Wire Cutters
- 2 2 inch 24 gauge silvertone head pins
- 2 8x8mm silvertone squaredelles
- 2 6mm clear swarovski spacers
- 2 8x8mm amethyst swarovski cubes
Practice makes perfect with the loop. You may feel like it's impossible to make it look good at first, but do it a few times and each one will be better than the other!
Instructions
-
Take the headpin and string on the cube, squaredelle, then spacer.
-
Grip the headpin with roundnose pliers and bend the headpin around, so it's facing down at 45 degrees.
-
Readjust the roundnose pliers so the bottom arm is under the curve, then bend the wire around the pliers again. The wire will face down at 45 degrees the other direction.
-
Readjust the pliers so the bottom arm is in the loop, and bend the wire down underneath, completing the loop. The wire should be parallel to the ground.
-
Grip the loop with your chain nose pliers, and wrap the wire around the vertical headpin underneath the loop, until the entire headpin area is covered.
-
Clip the excess wire with your wire cutters as close as possible.
-
Squeeze the clipped wire with your chain nose pliers so no edge is sticking out.
-
Bend open the leverback loop with pliers.
-
Put the earring look into the leverback loop and twist the loop closed again.
-
Your earring is finished! Now just complete the steps again to have your pair!
Read NextCrystal Ball Drop Earrings
Your Recently Viewed Projects
Hippie Chick
Jan 03, 2018
There is an awesome step by step picture tutorial and video to guide you through the construction of these earrings when you follow the link above given for the pattern to these earrings. Its a pretty straight forward tutorial and very easy to follow and make your own pair of earrings.
Report Inappropriate Comment
Are you sure you would like to report this comment? It will be flagged for our moderators to take action.
Thank you for taking the time to improve the content on our site.

