Hanging DIY Jewelry Organizer
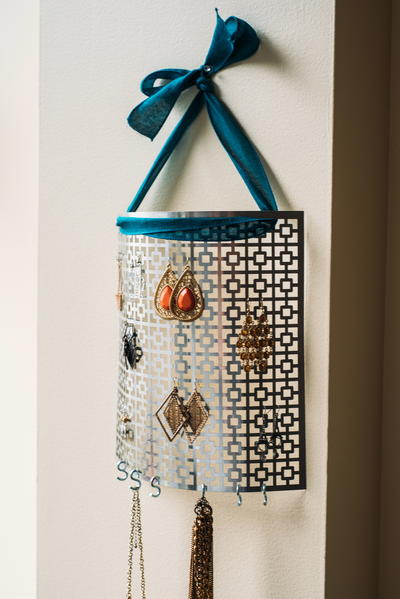
You can never have too many jewelry organizers right? This Hanging DIY Jewelry Organizer is a super cute craft project that you can make at home and use to organize all your different earrings. Don't worry about losing or breaking your earrings anymore now that you have this super cute handmade earring organizer. Plus, if you want to really take this diy jewelry organizer to the next level you can add hooks onto the bottoms so that you can hang up your different necklaces as well. Take a look at the video tutorial to see just how easy it is to put this handmade organizer together!
Estimated Cost$11-$20
Time to CompleteUnder an hour

Project TypeMake a Project
Materials List
- Metal sheet
- Scissors
- Ribbon
- S hooks
- Something round
Hanging DIY Jewelry Organizer
DIY Jewelry Organizer Instructions
-
Center your sheet of metal over your large round object, and slowly bend it to begin giving it some shape. Continue to bend and shape this metal piece until it is the shape you would like.
-
Take your ribbon and cut a fairly long piece.
-
Make a little point at one end and insert it through one of the gaps in the design of your sheet metal and insert your ribbon from front to back.
-
Hold up your ends and adjust your ribbon until both ends are even and tie a knot where you would like to hang it. Then create a nice cute bow.
-
Take your S-hooks and hang them evenly along the bottom of your jewelry organizer.
Read NextPretty Pink Cube Bead Set

