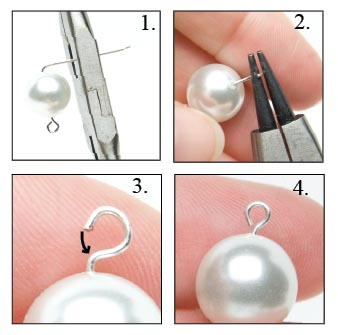
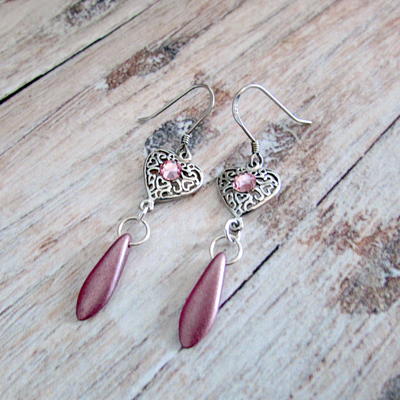
How to Make a Wire Loop
Learning How to Form a Wire Loop is one of the most fundamental wire jewelry technique for beginners, and one that is crucial to master if you are serious about making jewelry. Once you start to dip your toes into the art of jewelry making, you will notice that even the most basic wire jewelry tutorials are filled with wire loops. The technique can seem tricky at a first glance, but a step-by-step tutorial is the secret to mastering this skill. Learn the proper technique for forming wire loops—you'll be glad you did!
Project TypeLearn a Technique
Time to CompleteUnder an hour
Bead Technique UsedChainmail/Wirework

Instructions
-
String a bead onto a headpin or an eyepin.
-
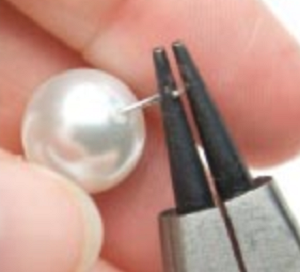
Bend the pin to form a right angle. Cut the pin approximately 1/4 inch beyond the bead.
-
Use the round end of your pliers to grasp the end of the pin and curve the pin by using a rolling motion to fold it over a single round prong. You may need to release the pin and continue the rolling motion again. You can also convert a head pin to an eye pin by snipping off the head and replacing it with a loop as shown above.
-
Be sure to start rolling from the end of the pin. This will give you a good round loop and sturdy connection.
-
If you do not start rolling from the very end of the pin, you can end up with a flat loop that will not look as good or give the movement you want.
Your Recently Viewed Projects
mulberrygalprinces s
Jul 06, 2018
This is a very good tutorial. I try to teach a group of my friends how to make jewelry. Making a loop like this is difficult. I am hoping that maybe if they see this, they will be able to follow along and it will be easier for them. Thank you for this.
Report Inappropriate Comment
Are you sure you would like to report this comment? It will be flagged for our moderators to take action.
Thank you for taking the time to improve the content on our site.

