How to Work With Memory Wire When Making DIY Jewelry
Check out these fantastic tips and tricks so you know exactly how to make the perfect memory wire jewelry!
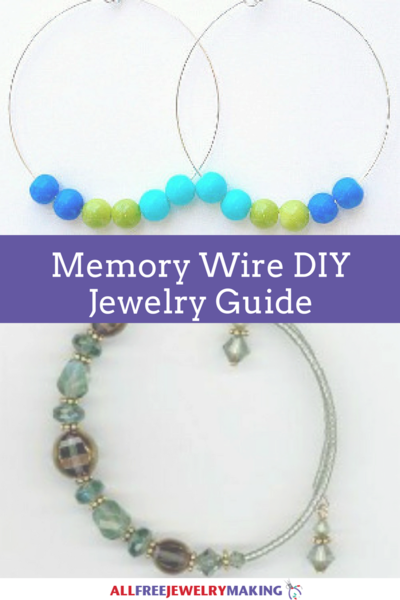
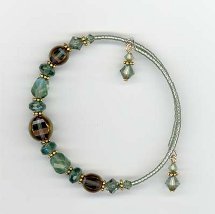
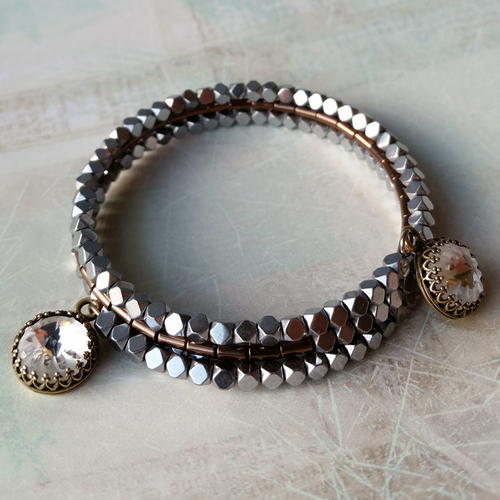
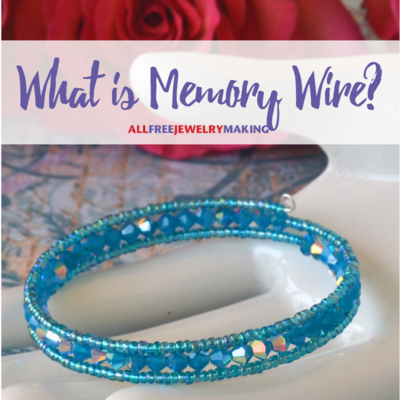
Memory wire is definitely a useful tool that can be tricky if you aren't sure how to use it. When it comes to creating memory wire jewelry patterns, this specific jewelry tool can make the perfect wrap bracelets. Memory wire strongly keeps it shape and is very hard to unbend, so it is extremely perfect for creating a bracelet that is meant to wrap around your wrist.
Plus, memory wire is perfect for creating tons of strung bracelet designs. Whether you are creating a beaded bracelet that is meant to be simple and elegant, or you are trying to make a super fun and crazy beading design, you can do both with memory wire.
Overall, memory wire is a fantastic tool for creating DIY jewelry projects for all different kinds of occasions. Meaning, if you want a formal jewelry piece, you can create a gorgeous crystal bracelet, or you can make a fun everyday jewelry design with this as well.
How to Work With Memory Wire
Making Memory Wire Jewelry Tips and Tricks
-
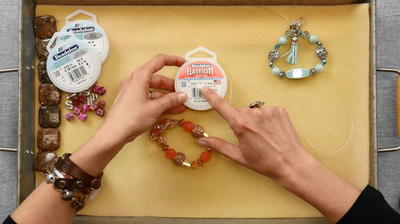
Grab Your Supplies: As always it is very important to start any jewelry tutorial with knowing the correct supplies you will need. When it comes to working with memory wire it is so important to have memory wire cutters. These specific wire cutters are designs to cut through memory wire without altering their shape. You will also need your memory wire of choice, whatever beads you plan on using, round nose pliers, and chain nose pliers.
There are two different types of memory wire you could use. The traditional round memory wire is your typical slinky-looking memory wire. The flat memory round is really good for wrapping and stringing specifically larger two-hole beads.
If you are just starting using memory wire try out this Easy Memory Wire bracelet that is perfect for beginners! -
Cut Your Wire: The first big step in creating memory wire jewelry is knowing how much you want to cut and cutting your wire. Typically, if you are making a wrap bracelet you will want to cut two to three swirls of your memory wire.
Tip: When you cut your memory wire you will want to make sure you are lining up where you are cutting with where your wire starts. This will make your bracelet look like it comes to more of a smooth finish because they will begin and end evenly. -
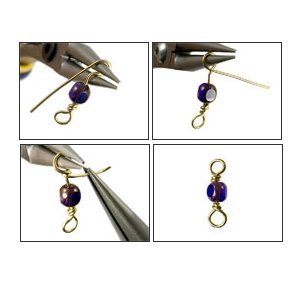
String Your Beads: Now, it is time string your beads onto your bracelet. You are going to want to make an unwrapped loop so that your beads do not slip off of the end of your wire.
Then, begin stringing your beads in the design you would like them. You can really go crazy with this part and really free range your design.
Tip: Leave 1/2 an inch at the tail so that you can loop the end of that as well.
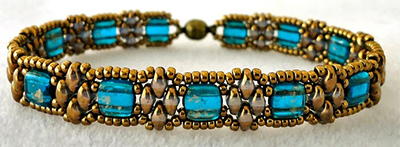
Try out this super unique Sea Urchin Memory Wire Bracelet design for an intricate and different memory bracelet style, or try out the Glamorous Glass Bead Bracelet for a dressier look! -
Finish it off: To finish your memory wire bracelet you are simply going to want to twist the other end of your bracelet closed as well. You can also use sticky adhesive ends to your memory wire to keep your beads from falling off the ends.
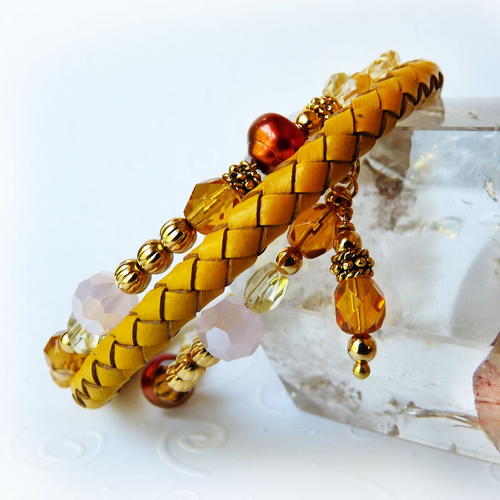
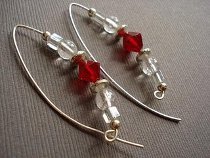
Adding charms to your memory wire bracelet can also add a really fun and unique touch. Take a look at this Beaded Memory Wire Bracelet for an idea of what design to do. Or try making some memory wire earrings instead of a memory wire bracelet with this beaded earring tutorial!
Why do you like working with memory wire?

