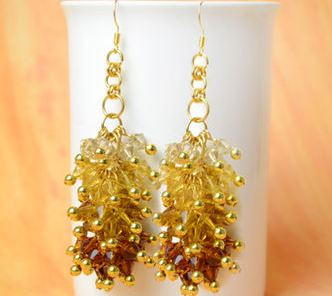
Simple Cluster Earrings
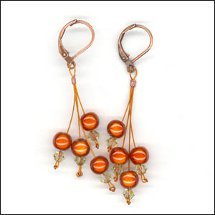
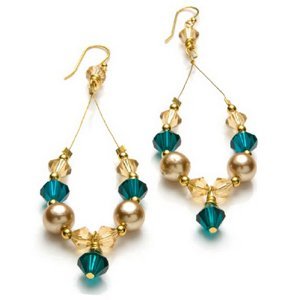
These cute and simple cluster earrings will work to beautifully accent a part outfit or dress up your work uniform. This free jewelry making project is really easy to follow and you'll have a new pair of earring in a jiffy!
Project TypeMake a Project
Bead TypeCrystal, Miscellaneous
Time to CompleteUnder an hour
Bead Technique UsedStrung
Bead Project TypeEarrings

Materials:
- Autumn Brown Econoflex
- 1pr Antique Copper Leverbacks
- 8 6mm Miracle Beads "Copper"
- 8 4mm Austrian Crystals "Cantaloupe"
- 2 Antique Copper Crimp Beads
- 2 inch piece of a cocktail straw
- 1 1/2 inch piece of cocktail straw
- Chain Nose Pliers
- Crimp Pliers
- Beading Awl
- Wire Cutters
Instructions:
- For this project you only cut the Econoflex off the spool after you complete each "Arm" of these earrings. Confused? Follow along it will all make sense. Slide the 2 inch straw onto your Econoflex, then one Austrain crystal, 2 of the Miracle Beads then slide on one more Austrian crystal.

- Tie a knot near the end of the Econoflex, slide the beads and straw up against that knot and then using your Beading Awl place an overhand knot as close to the straw as possible.

- Now cut this "Arm" off of the spool of Econoflex. You want to leave an 1/8" of wire on the outside of each knot. This small burr of Econoflex will be tucked up inside the Austrian crystal that is now at the bottom of each "Arm". Now bend this construction in half, you are going to want to have one side be slightly longer then the other side. This will help spread out the cluster we are building for the final steps.

- Repeat steps 1 through 3 again using the 2 inch piece of straw. Once two "Arms" have been completed, repeat steps 1 through 3 two more times, only this time use the 1 and 1/2 inch piece of straw.

- One long "Arm" and one short "Arm" are going to make up each earring. We need to slide each of these "Arms" through a crimp bead. I would recommend sliding the shorter of the "Arms" through first, the extra length of the second "Arm" will help stave off the frustration of fitting all that wire through a crimp bead.

- Position the crimp bead an 1/8 of an inch from the top and crimp. You now have 2 loops at the top of the earring, cut one loop off. Using your Awl force the remaining loop back into a round shape, this will help ensure you get organic movement with these earrings.

- Attach your leverbacks and you're done.
Read NextCrystal Mermaid Drop Earrings
Your Recently Viewed Projects
mystephenson 78814 75
Nov 02, 2012
Because I'm new at this, I had a hard time making the knots. So I put crimp covers over the knots and I am happy with the results. Thanks you.
Report Inappropriate Comment
Are you sure you would like to report this comment? It will be flagged for our moderators to take action.
Thank you for taking the time to improve the content on our site.

