Geometric Shrinky Plastic Pendants
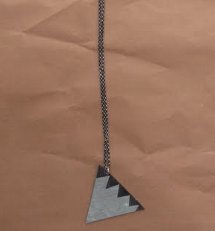
Geometric Shrinky Plastic Pendants
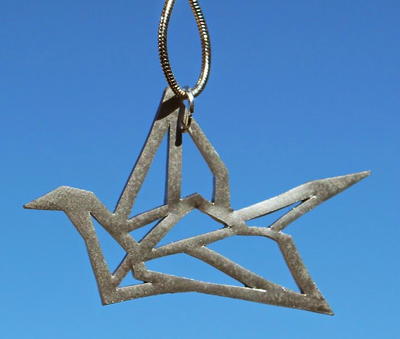
Shrinky Dinks aren't just for kids. These free jewelry-making instructions show you how to use shrinkable plastic to make trendy Geometric Shrinky Plastic Pendants! The patterns are hand-drawn, so you have a completely unique piece every time.
Project TypeMake a Project
Time to CompleteIn an evening
Bead Project TypeNecklace

Materials:
- Shrinky Dink paper
- permanent markers (you can also use acrylic paint or, depending on your Shrinky Dink paper, colored pencils)
- scissors
- hole puncher
- X-Acto knife
- jump ring
- chain of your choice

Instructions:
- Look up inspiration! I usually go to Pinterest.com and see what people have pinned under "geometric jewelry." Once you have an idea of what you want to do, sketch it out before you draw your design on your Shrinky Dink paper.
- After you have finished your sketch and you like your design, you can start drawing your design on your Shrinky Dink paper. Remember that whatever size your design is, it will shrink to 1/3 of that size.

- Now it is time to cut. If you are like me and you have empty spaces in your design and want to cut them out, use an X-Acto knife before you cut your image from the plastic. Once you cut the blank spaces out, you can cut your design out using scissors.
- Punch holes where you want your jump rings to go through. I used a 1/8-inch hole puncher.

- Following the directions of your Shrinky Dink paper, put your design in the oven. I usually put foil at the bottom of my pan to keep the design from sticking.
- Take it out of the oven; using a smooth napkin or your hand (It will be really hot!), take the plastic out of the pan and press it down on a flat surface.
- Add your jump ring and your chain and voilà! You have your own geometric necklace using Shrinky Dink paper.


You can also use this same method to make a cute pair of matching earrings!
Here is another necklace I made along with matching earrings.


Read NextHow to Make a Wrap Bracelet: 42 Ways

