2 in 2 Chain Maille and Bead Bracelet Part 1
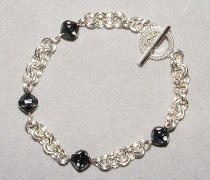
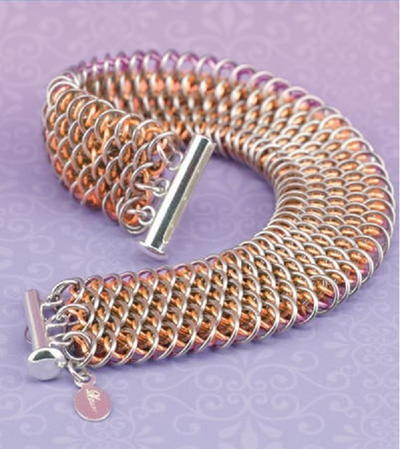
The 2 in 2 Chain Maille and Bead Bracelet is a simple project that's perfect for beginners as it is the basis for many more advanced weaves. These very detailed instructions will quickly guide you into the world of chain maille. Chainmaille patterns are becoming increasingly popular, and you will love this introduction to chainmaille bracelet making. This part of the tutorial shows you how to make double ended double wire loop bead units. This is a fast way to incorporate beads into your chainmaille piece.
Project TypeMake a Project
Bead TypeCrystal
Time to CompleteIn an evening
Bead Technique UsedChainmail/Wirework
Bead Project TypeBracelet

The instructions for this bead chain maille bracelet were graciously written by Wanda Epps.
Jewelry Making Supplies:
- sixty four 18 gauge 6mm OD (outside diameter) 3.5mm ID (inside diameter) unsoldered jump rings
- four 2 1/4 inch (5.7 cm) lengths of 20 gauge round wire
- four 8mm cosmojet Swarovski® crystals
- one toggle clasp
Jewelry Making Tools:
- wire cutters
- round nose pliers
- chain nose pliers, two pair
Instructions:
- Make a double wire loop bead unit: Using the wire cutters, cut four 2 1/4 inch (5.7 cm) lengths of 20gauge round wire.
- Grasp one end of one wire between the jaws of your round nose pliers, about half way up the pliers' jaws.

- Rotate the pliers forward, creating a wire loop.

- Reposition the pliers to their original position.

- Rotate the pliers forward, creating one and a half wire loops.

- Reposition the pliers to their original position, grasping the top of the wire loop between the pliers' jaws.

- Rotate the pliers forward, creating a double wire loop.

- With the tip of the pliers, grasp the wire loop where the tip of the wire of the first loop meets the perpendicular portion of the wire. Rotate the pliers backward about 90 degrees, creating a bend in the wire.

- You should end up with a length of with wire that has a double wire loop on one end.

- String one 8mm cosmojet Swarovski® crystal bead onto the wire, resting it against the double wire loop.

- Repeat Steps 1 - 7 on the second end of the wire. You have made one double ended double wire loop bead unit.

- Repeat Steps 1 - 10 to make three more double ended double wire loop bead units for a total of four.

To finish this gorgeous bracelet, check out part 2!
Read NextChanel-Inspired Pearl Bracelet

