Ring Resizing Guide: How to Adjust Your Ring Size
Resize your rings that are too big for you in the comfort of your home!
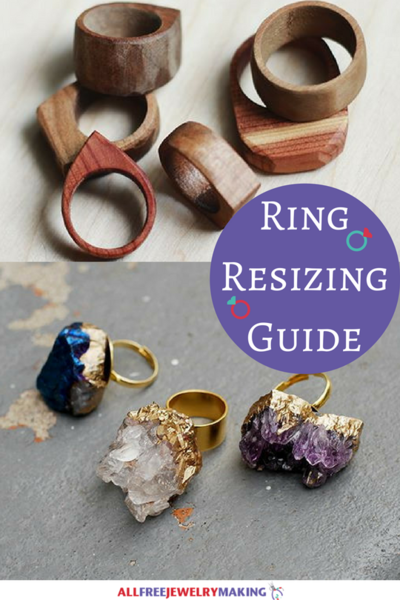
Every ring you own will not necessarily be a DIY ring that you can customize to fit your perfectly. Naturally, this means that you are going to end up with having to adjust the size of some of your store bought rings if the ring is too big.
Even if you do own a majority of handmade rings, you could still benefit from this how-to jewelry guide if your ring size changes with the season, or if you lose weight. No matter what the case is for the need to resize your ring, don't waste your money buying different ring size adjusters when you can make them at a fraction of the price!
Plus, if you are new to jewelry making and are practicing some beginner jewelry tutorials, you still might not be perfectly exactly when it comes to your ring size. There is nothing wrong with this, especially now that there is an easy way to fix it!
Along the way, we can also chip in some ring pattern ideas for you to test out on your own. All of these projects will work perfectly for this DIY ring reducer method; so, whether you have already made a similar pattern to the featured projects or not, you can still benefit from the tips and tricks provided.
How to Adjust Your Ring Size
Tips For Resizing Your Ring
-
Many people go out and buy a ring guard when they are having problems with their ring size. However, you can simply follow these super simple steps using stuff you already have around the house to create your own ring guard!
Start by grabbing any kind of tape you own. This tape can be double sided or regular tape, but you will want it to be clear.
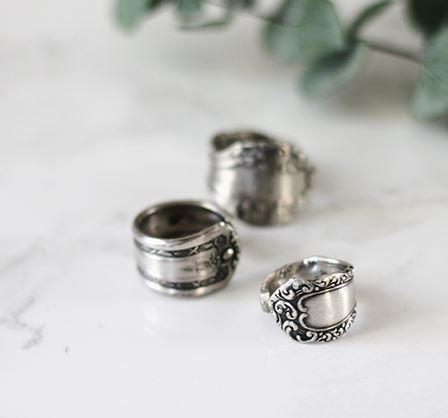
BONUS: These DIY Spoon Rings are not only extremely trendy, but also easy to make! However, if you can't get them to fit just right, keep reading for how you can resize them from home! -
Next, you are going to want to cut your tape with scissors for a clean edge. After you have your strip of tape you are going to fold it in halves until it fits the inside of the ring.
For this part, the longer you cut the piece of tape the larger DIY ring adjuster you are going to end up with.
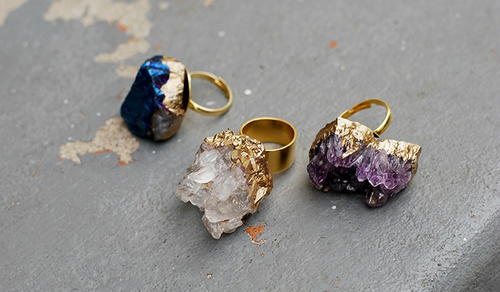
BONUS: You are getting closer to finishing up your ring adjuster! Try out this super easy Magical Mountain Gemstone Rings project. This is a good example of a DIY project where this technique could easily come in handy! -
Now you are going to want to press your folded tape creation onto inside the ring on the bottom barrier. Again, it is important to keep in mind that the longer you make the piece of tape the thicker the tape will be when you fold it up causing it to be even tighter.
BONUS: This PMC Leaf Ring is the perfect clay creation to test your new skills out on! You only have one more step and you are all done! -
Finally, you are going to want to cover the tape on the bottom of your ring with a coat of clear nail polish. This will lock the tape in place and keep it from sticking to your finger or falling off when you switch out your rings.
You will want to let the nail polish dry over night, and just like that you have your very own DIY ring guard!
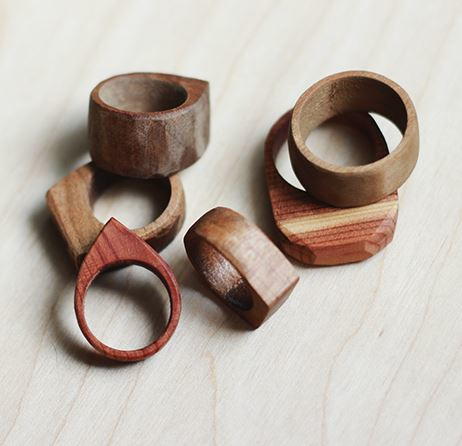
BONUS: This method also works fantastically on wooden jewelry like these Whimsically Simple DIY Wood Rings. -
BONUS TIP: If you are looking for an even easier method to try and shrink your ring just a tiny bit. You can coat the bottom interior of your ring with clear nail polish.
For every three coats of nail polish you apply, you can shrink your ring by approximately one milimeter. However, you must be careful to let the nail polish fully dry before applying another coat, and leave it overnight before wearing it!
BONUS PROJECT: Lastly, if simplicity is your main style, you will love this How to Make a Simple Silver Ring tutorial!

